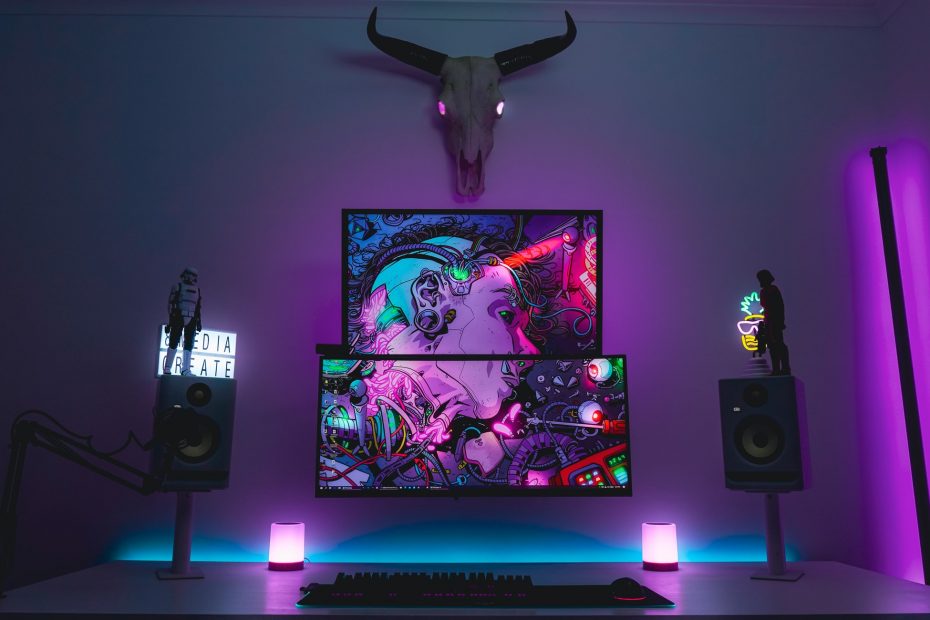
Every programmer’s pride is their computer setup and what is an amazing computer setup without RGB lights? And what can be cooler than a setup with matching colors? A computer setup that changes colors automatically!
However, with so many RGB light brands around, unless you buy from one distributor and are really lucky it is unlikely there is a solution that will fit all the setups.
In this guide, we’ll build a custom script that will match our RGB lights colors to our Wallpaper Engine wallpaper color.
Setup Wallpaper Engine
Before writing the script we need to set up Wallper Engine to override the windows wallpaper so we can access it with our script.
In Wallpaper Engine Settings > General > Windows tick the “Override wallpaper image” option.

Usually for changes to take effect you’ll have to press OK in the app’s main menu. Now in the %AppData%\Microsoft\Windows\Themes you will see a “WallpaperEngineOverride.jpg” file that we will read to get the wallpaper colors.

Note: Ideally, we would like to use the transcoded wallpaper available but Windows won’t allow listeners so rather than elevating the script’s permissions we’ll stick to the JPEG image available.
Download the dependencies
Our script will use color harmony and color thief to analyze the colors of the wallpaper, watchdog to watch for changes to the wallpaper so make sure to download them with these commands:
pip3 install colorthief watchdogGet the dominant color
Take the color palette with color thief. We are interested in the top 20 colors because a lot of wallpapers may have whites, greys and blacks that don’t have a good hue that we could use later to extract a color from.
color_thief = ColorThief(currentWallpaper)
palette = color_thief.get_palette(color_count=20, quality=8)
I am using this approach because this way we can detect even a highlight color that doesn’t dominate the wallpaper but should be the RGB color. For example, here we want to extract the blue color and are not interested in the other shades of grey and black that by far dominate the scene.

Now we go through the palette and look for a high difference in the RGB color code that indicates that the color has a usable hue. Feel free to play with the gap you are looking for but I noticed that 70 gives pretty good results.
# Initialize final with white
final = (228, 226, 226)
for color in palette:
    dif1 = abs(color[0] - color[1])
    dif2 = abs(color[1] - color[2])
    dif3 = abs(color[0] - color[2])
    if dif1 > 70 or dif2 > 70 or dif3 > 70:
        final = color
        break
With the color found, the next step is manipulating the RGB code to get a more lively color that is going to look good for RGB lights. For this, we want to preserve the hue and make pale colors more lively.
Converting to the HSV color space is a no brainer here. We can keep the hue untouched, boost the saturation to maximum and then pick a lightness we find good for our lights. I do this in the second line: 1 = 100% saturation and 0.75 = 75% brightness.
hsv_col = colorsys.rgb_to_hsv(final[0] / 255, final[1] / 255, final[2] / 255)
hsv_col = (hsv_col[0], 1, 0.75)
Finally, we go back to RGB because all lighting libraries prefer RGB codes when setting the color.
final = colorsys.hsv_to_rgb(hsv_col[0], hsv_col[1], hsv_col[2])
final = (int(final[0] * 255), int(final[1] * 255), int(final[2] * 255))
Connect the RGB devices – the easy ones
For my setup, I used the logipy wrapper for the Logitech mouse and the Govee API for the RGB strips but there is a multitude of brands that have their own SDKs and libraries. Here are a few of the popular ones (Use these as a starting point, some may have better alternatives):
However, if I wasn’t using Govee in my setup and had more RGB devices, OpenRGB is the library to use if you are looking for an even more straightforward solution to control all the different brands with one library.
Once you install the library it is generally pretty simple to get it working. Most libraries have examples and documentation to work with and can control lights with a couple of commands. In the case of logipy this is the setup:
logi_led.logi_led_init()
sleep(0.5) # Add this pause to avoid interference by other code when initializing
Note: If the library doesn’t work for you (like it didn’t for me), clone the repository in the same folder as the script and import it as you would normally do with a python library:
from logipy import logi_ledConnect the RGB devices – the painful ones
Sadly, life is not fair. You might have a device that doesn’t have a simple SDK or even worse, only provides an API because it’s a separate device not connected to the PC. Usually, this is the case with RGB strips like in my case with Govee.
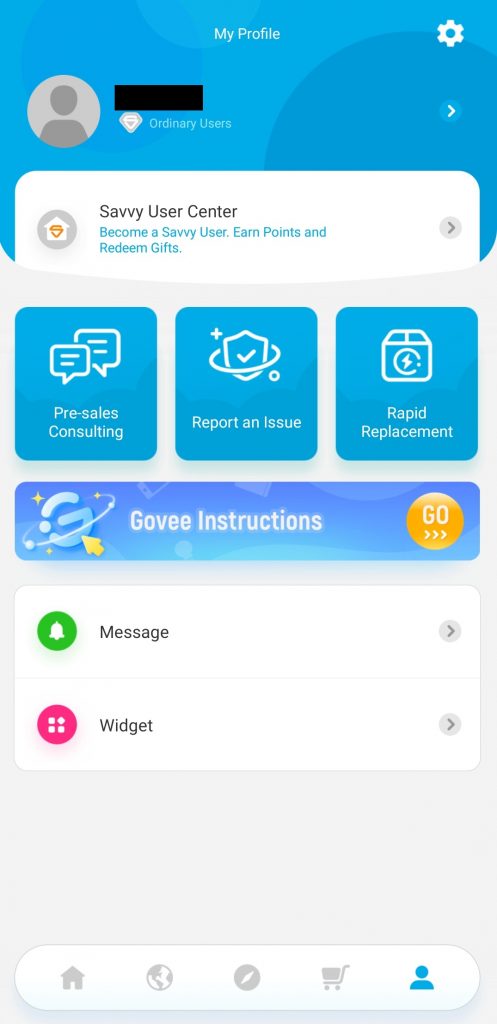
The first step is getting an API Key, good luck with that! If you also have a Govee go to Settings > About Us > Apply for API Key. Luckily it is very easy to get a key and the process took me only 30 minutes.


But the pain doesn’t end here. Connecting to Govee is also a complicated endeavour. First, initializing an object needs a LearningStore. We won’t use it but it is still required to create a dummy one.
class LearningStorage(GoveeAbstractLearningStorage):
    async def read(self) -> Dict[str, GoveeLearnedInfo]:
        return (
{}
)

    async def write(self, learned_info: Dict[str, GoveeLearnedInfo]):
        persist_this_somewhere = learned_info  # save this dictionary to disk
On top of that, Govee works asynchronously so the function for changing colors is really particular in the use of awaits:
async def change_color(api_key, rgb_color, learning_storage):
    # Create new govee object
    govee = await Govee.create(api_key, learning_storage=learning_storage)

    # get_devices is mandatory here!
    devices, err = await govee.get_devices()

    # Turn the light on if it's not and set the color
    for dev in devices:
        success, err = await govee.turn_on(dev.device)
        success, err = await govee.set_color(dev.device, rgb_color)

    await govee.close()
Once done, the process goes API Key + RGB Color + Learning Storage = Lights Magically Changing!
Setting up a handler method
The last component of the app is the Handler we are going to trigger with watchdog when the Wallpaper file is changed by Windows. This way the background script only uses resources when it is triggered (up to 8% CPU usage with the script is not something I want all the time).
We are interested in changing the on_modified method of the FileSystemEventHandler:
class Handler(FileSystemEventHandler):
    def on_modified(self, event):
        # Check that the wallpaper has changed
        currentWallpaper = getenv('APPDATA') + "\\Microsoft\\Windows\\Themes\\WallpaperEngineOverride.jpg"
        if event.src_path == currentWallpaper:
            # Take the color from wallpaper and set the lights for logitech and Govee
            final = take_color()
            logi_led.logi_led_set_lighting(final[0], final[1], final[2]) # Logitech

            loop = asyncio.new_event_loop() # Govee loop
            try:
                loop.run_until_complete(change_color(api_key, final, learning_storage))
            except:
                loop.close()
Putting it all together
With all the components in place, it’s time to put everything together.
The WatchDog observer:
observer = Observer()
observer.schedule(Handler(), getenv('APPDATA') + "\\Microsoft\\Windows\\Themes")
observer.start()
A pause before initializing the objects. We need this for when the app will start up with Windows and we need to wait for the Logitech app to start before our script:
sleep(15)Set the Logitech light:
# Initialize the LEDs
logi_led.logi_led_init()
sleep(0.5)
Set the Govee light (again async):
loop = asyncio.new_event_loop()
    try:
        loop.run_until_complete(change_color(api_key, final, learning_storage))
    except:
        loop.close()
And finally, the observer that will change colors after the initial setup we have done above:
# Folder observer interrupt when the wallpaper changes in the folder
    try:
        while True:
            sleep(1)
    except KeyboardInterrupt:
        observer.stop()

    # Start the observer
    observer.join()
Making it all work on startup
Once you are satisfied with your script it’s time to make it all work when Windows starts up.
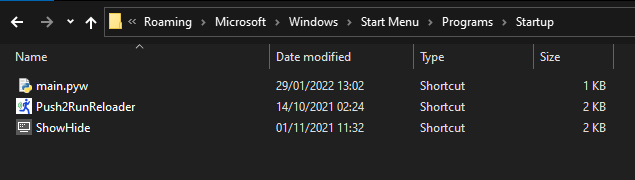
Change your script’s extension from .py to .pyw (to make the script not open a terminal window) and add a shortcut of it to
C:\Users\<your-user>\AppData\Roaming\Microsoft\Windows\Start Menu\Programs\Startup
Aaaand done!
Final words
I had a lot of fun working on this weekend project and I’m really proud of how it turned out. The next steps would be moving to openRGB for added support for my MSI motherboard, Corsair RGB memory and other devices I might add and packaging everything into a more user-friendly application.
Also, right now there is a delay for the script to communicate with Govee lights that I think could be shortened by using another LEDs brand that has a library and/or can be connected to the PC. Another idea to shorten the delay would be taking screenshots with python and analyzing those instead of waiting a couple of seconds for Wallpaper Engine to update the wallpaper file but that, I suspect, would be more resource-demanding which is not the best for a background application but feel free to try it out.
The full code is available on my GitHub.
If you want to improve the code definitely try using openRGB or try closing your eyes 🙂
Happy coding and a good day!